Quick start 04 — Initialise a Satochip card with a seed
A Satochip holds a seed on the card and can sign with it. This guide seeds a Satochip and proves it works by exporting an xpub.
What you need
- A blank Satochip card (
SatoChip-0.12-official.capinstalled) — see Quick start 01. - Smartcard support and Satochip support enabled (both default Enabled).
- The seed you want to store. A Satochip can only be seeded once; to change the seed you must factory-reset or re-flash the card.
Steps
-
Load the seed in SeedSigner (create, scan, load from a SeedKeeper, or type it).
-
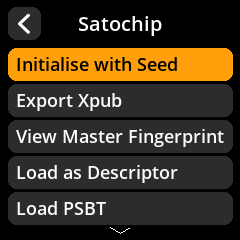
Go to Tools → Smartcard Tools → Satochip Functions.
-
Choose Initialise with Seed.
-
If the card is blank, SeedSigner shows an uninitialised warning and asks you to set a New Card PIN. Satochip PINs are numeric; remember it.
-
On the Seed to Import screen, choose the loaded seed from the top of the list (you can also scan or type a seed here). If you are moving a SLIP-39 seed, choose SLIP-39 Shares.
-
Wait for Seed Imported.
If the card already contains a seed, you will see Already Seeded instead. Reset the card (Satochip Functions → Card Settings → Factory Reset Card) if you really want a different seed. A factory reset erases the card’s key material.
-
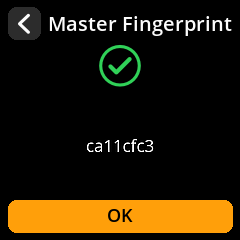
Confirm with Satochip Functions → View Master Fingerprint — it should match the seed’s fingerprint.
Export an xpub for a watch-only wallet
- Satochip Functions → Export Xpub.
- Choose Single Sig or Multisig.
-
Choose the script type.
- Choose the coordinator/QR format, accept the warning, and review the derivation details.
- Scan the xpub QR into your wallet.
Optional — check the card
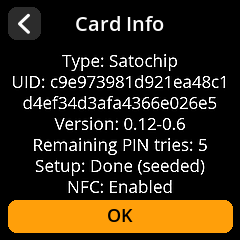
Satochip Functions → Card Settings → Card Info shows the card type, version, PIN tries, seed state and NFC policy.